Saturday, December 31, 2011

Winter Wonderland Sugar Cookies

Hi!  Long time, no blog!  I hope you all had a great Christmas.  I can't believe it's already New Year's Eve!  This was my first Christmas that I decorated sugar cookies.  While I'm still not an expert, I am happy with the results.  Practice makes perfect, right?

I decided to stay with a pink/white/blue theme for the cookies because I feel like it's wintry and it's a nice departure from the typical red/white/green combination.  In keeping with the wintry theme, I decorated snowflakes, snowmen and mittens.  I decorated stockings and trees as well because I think they're pretty standard when it comes to Christmas.  The sanding sugar really makes them pop and adds to the winter feel!  Like I said, I'm not an expert at decorating sugar cookies, but I think these came out cute and I was happy to share with my friends and family!

I'm off to do some baking for New Year's dinner.  Have a safe and happy 2012!!!


Sunday, December 11, 2011

Firetruck Cupcakes

A friend of mine asked me to bake cupcakes for her son's third birthday party and the theme was firetrucks.  I googled some images and found some adorable fondant firetrucks that I decided to use as inspiration.  I was a bit nervous to use the fondant since I'd only used it once before and didn't have the best results.


As my luck would have it, the two stores where I purchase my baking supplies were out of the pre-colored fondant.  I figured it couldn't be too hard to color it myself so I picked up some white and with the help of my sister, we created the three colors (in addition to the white) needed for the firetruck.  The process wasn't too hard, but it was a bit time consuming.  It took a couple of hours to cut out the different shapes for the truck.

I decided to bake a dozen chocolate and a dozen vanilla cupcakes.  I used my basic buttercream recipe.  I thought it would be fun to swirl yellow and red together to look like flames.  Unfortunately, I ran out of the red and yellow frosting so I used plain white for the last six cupcakes.  I sprinkled some red sanding sugar on them and I think they looked great!


For only the second time working with fondant, I think the firetrucks came out kinda cute.  Because I am lazy, I also decided to make stars with the number three on them.  Overall, I was pleased with how they looked and I think the birthday boy was happy too - He had one chocolate and one vanilla cupcake!

Saturday, December 3, 2011

50th Anniversary Cookies

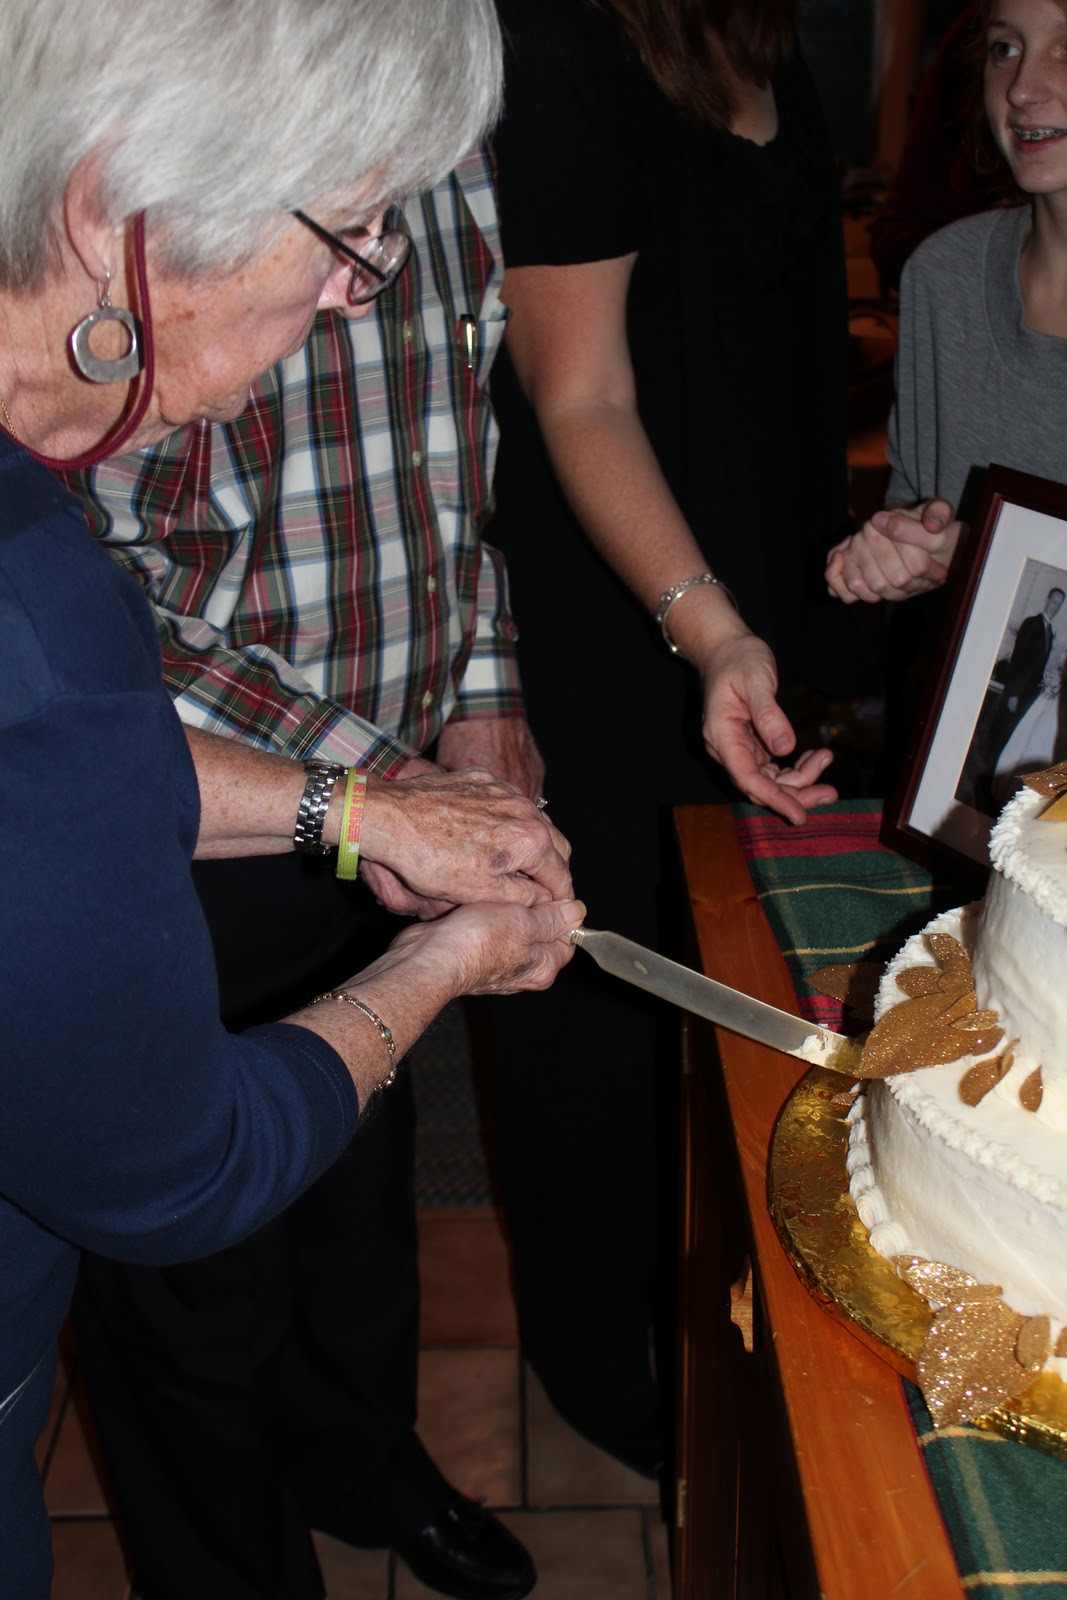
My brother in law's parents recently celebrated their 50th wedding anniversary.  My sister and her husband, Mark threw a big bash for them and they asked if I would bake wedding cake cookies to give out as favors.  I was more than happy to but a bit nervous since I'd never really made (decorated sugar) cookies for anyone other than friends and family.


I didn't want to feel too overwhelmed, so I decided on baking them all in one night.  Then I outlined and flooded them another night while adding the decorations over a couple of nights.  I primarily stuck with white on white but I did add gold to a few since they were for a 50th wedding anniversary.  I was pleased with how they turned out but I know I still have a way to go with my decorating!


Happy 50th Anniversary, Mr. and Mrs. Norman!


Thursday, October 20, 2011

Guest Post from running foodie =)

I'm sure many of you have heard people say they've never regretted a workout.  No?  Just me?  Oookay...  Well, that's how I felt tonight.  I left work with every intention of hitting the gym, but when I sat down on the train to head home, I lost all desire I had to exercise.  It was crisp and breezy in town but the wind was nowhere to be found when I got home.  I really didn't want to work out at the gym and I knew I had to do some sort of physical activity.  I decided since it was the perfect fall night I would go for a short run.

I've not run at night alone in my 'hood because I've always been worried about the lack of proper lighting and activity - Cars, people waiting in the bushes to abduct me.  I headed out with the intention of just going for a mile since I didn't really know what to expect.  I felt pretty safe since I'd left my iPod at home i safety first!  I was wearing pants that have reflectors on them and I was rockin' these kicks:

My special shoes

But, I really didn't know how many people would be out or what the lighting would be like.  I made it out onto a fairly main street and was happy to see a lot of cars and even other runners!  I really enjoyed running in the beautiful fall evening.  I ended up running two miles and I didn't regret my workout!  ;)

Here are some helpful safety tips for running at night (or early morning):
Be seen!  Wear reflective gear
Leave the iPod at home.  If you need music to run, wear only one ear bud...  This is assuming you wear ear buds!  :)
Bring your cell phone
Map out your route ahead of time so you know where you're going
If possible, tell a friend or family member you're going out for a run  Better yet, run with a buddy!  They can help you up when you trip on the sidewalk and go ass over teakettle go flying three feet ahead!  (true story!)

Do you like to run at night?
Do you stick to the main roads where there are plenty of people and lots of lighting?
Do you have any suggestions for running at night or in the early morning?

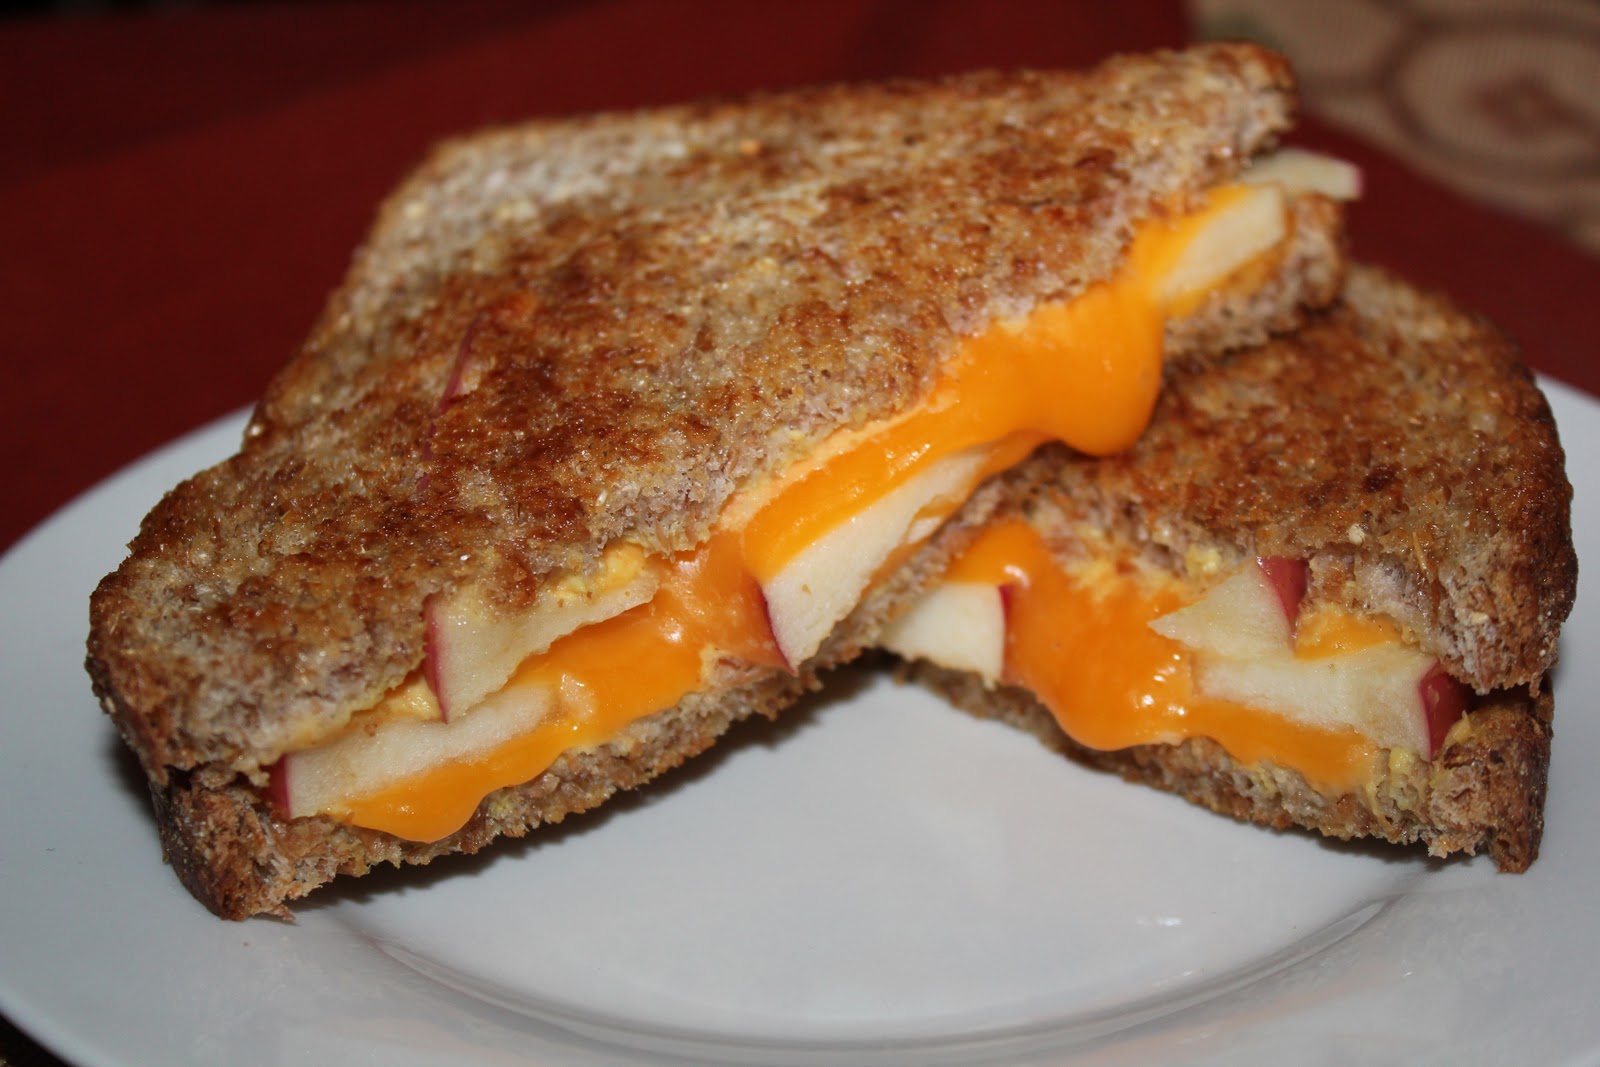
I was so hungry when I got home from work and I wanted something fast and delicious.  While stretching, I took a mental inventory of what was in my fridge and I had leftover roasted pork with harvest veggies.  I had already eaten this as leftovers a couple of times this week so I decided to turn the leftover veggies into a soup!  I also paired the soup with a grilled cheddar and apple sandwich.  It was a great meal with yummy fall flavors.  Below is the "recipe" for the soup.  I use quotes as I don't know the exact amounts and had to sort of fudge the numbers.


Roasted Harvest Vegetable Soup

Olive oil
About 3 cups of roasted veggies (butternut squash, fingerling potatoes and Brussels sprouts)
1/4 cup sweet potato puree
1/3 large onion, diced
3/4 of an apple, peeled and chopped
15 oz or so of chicken broth
1/4 cup nonfat Greek yogurt
1 - 2 t ground ginger
Sprinkle of cinnamon
1 T maple syrup
salt & pepper

Preheat a medium saucepan and add enough oil to lightly coat the bottom of the pan.  Add the onion and cook for about five minutes.  While the onion cooks, cut up the roasted veggies if needed.  Add the veggies, the apple and the puree to the onions and stir to combine.  Add salt and pepper to taste.  Cook for another 3 - 5 minutes then add the broth.  Stir to combine.  Add ginger, cinnamon, syrup and if necessary, salt and pepper.

This is where it gets fun!  :)  If you have one, take an immersion blender and blend until smooth.  If you don't have one, a food processor or blender will work, but you may need to do it in batches.  If using a blender or processor, be sure to cover the opening with a towel to let out some of the steam while you're pureeing the soup.  Once the soup is completely smooth, add in yogurt to add a bit of creaminess.  Sour cream, half & half or marscapone would work well too.  Let simmer for a few minutes and taste for seasoning.  Add any additional spices if necessary.


Grilled Cheddar and Apple Sandwich

Olive oil
2 slices of Ezekiel bread
3 slices cheddar cheese (I used Sargento reduced fat)
1/4 gala apple, thinly sliced
1 - 2 t Dijon mustard

Heat the oven to 350 and heat a small skillet lightly coated with olive oil on medium heat.  Spread one side of both slices of bread with the mustard.  Once the skillet is warm add one slice of bread (mustard side up).  Top the bread with a slice of cheese and half the apples.  Add another slice of cheese then the rest of the apples.  Top with the last slice of cheese and the other slice of bread (mustard side down).  Drizzle a small amount of oil on top of the sandwich.  Cook on medium for a few minutes until brown and the cheese begins to melt.  Flip the sandwich and cook a bit longer.  Place the skillet in the oven to finish cooking, about five minutes.  I like to finish cooking the sandwich in the oven to ensure it gets heated through.  This paired well with the roasted veggie soup.

Enjoy!

Tuesday, October 18, 2011

Cabernet Cranberry Sauce

Autumn is in full swing and so is my baking and cooking!  Pumpkin and apples seem to get all the attention in the fall when it comes to baking, but there is one flavor I feel gets overlooked - Cranberry!  Cranberry is a crisp, tart flavor which I really enjoy.  It pairs very well with both pumpkin and apple too!  I found a bag of cranberries when I was cleaning out my freezer today and decided to make a batch of cranberry sauce.

As I was gathering the necessary ingredients for the cranberry sauce, I spotted an opened bottle of cabernet sauvignon on my counter.  I had made a bourbon cranberry sauce last year and I thought the cabernet would add a nice flavor - I was right!  Also, if you're a fan of whole berry cranberry sauce, then this is the one for you.

Cabernet Cranberry Sauce

1 12 oz bag of cranberries, fresh or frozen
1 cup sugar
Scant 1 cup water
A couple glugs of cabernet sauvignon (about 1/4 cup)
Juice of 1/2 a lemon
Zest from lemon (about 4 - 5 big pieces)

Add all the ingredients to a medium saucepan and cook on medium until the berries begin to pop and the liquid begins to boil.  Continue to boil for about 10-15 minutes, stirring occasionally.  Let cool completely before serving.  I left the zest in while the sauce cooled and I'll just remove the pieces as I serve it.  The sauce will thicken as it cools.  Please note, this is not a jellied cranberry sauce, so this will not set completely.

Pumpkin Snickerdoodles

Hi there!  It's know it's been a while since I've posted.  I've been busy baking and cooking up a storm using the delicious flavors of fall as inspiration - Pumpkin snickerdoodles, cabernet cranberry sauce and roast pork loin with harvest veggies.  What's that link you ask?  Oh, it's my newest blog - running foodie.  I created a blog that incorporates my love for food and fitness.  Don't worry!  I'll still whip up indulgent decadent dishes like my chocolate peppermint cake and blue cheese stuffed buffalo turkey burgers but I am also trying out healthier versions of my favorite recipes.  I thought I would write about the healthier options on running foodie while keeping the more indulgent recipes here.

Now onto more important things - Cookies!

I remember when I was younger, my sister Emily and I decided to start a cookie company - Auntie Em's Cookies.  We specialized in snickerdoodles - Yummy little buttery bites with spicy hints cinnamon and sugar.  I think we were able to get a few orders, but if memory serves my correctly, my mom ended up baking the cookies and Emily and I still ended up keeping the proceeds!  I thought of our little adventure when I discovered this recipe on Annie's Eats.

These pumpkin delights are a nice twist on the standard snickerdoodle.  The pumpkin taste is not overpowering which is why I think I like them.  I am a big fan of pumpkin, but I was pleasantly surprised to find the pumpkin flavor so subtle.  This is an easy recipe to follow and many of you may already have all the ingredients on hand.


Pumpkin Snickerdoodles


Yield: about 3-4 dozen cookies
Ingredients:
For the cookies:
3¾ cups all-purpose flour
1½ tsp. baking powder
½ tsp. salt
½ tsp. ground cinnamon
¼ tsp. ground nutmeg
1 cup (2 sticks) unsalted butter, at room temperature
1 cup granulated sugar
½ cup light brown sugar
¾ cup pumpkin puree
1 large egg
2 tsp. vanilla extract
For the coating:
½ cup granulated sugar
1 tsp. ground cinnamon
½ tsp. ground ginger
Dash of allspice
Directions:
In a medium bowl, combine the flour, baking powder, salt, cinnamon, and nutmeg.  Whisk to blend and set aside.  In the bowl of an electric mixer, beat together the butter and sugars on medium-high speed until light and fluffy, 2-3 minutes.  Blend in the pumpkin puree.  Beat in the egg and vanilla until incorporated.  With the mixer on low speed add in the dry ingredients and mix just until incorporated.  Cover and chill the dough for at least 1 hour.
Preheat the oven to 350˚ F.  Line baking sheets with silicone baking mats or parchment paper.  Combine the sugar and spices for the coating in a bowl and mix to blend.  Scoop the dough (about 2½ tablespoons) and roll into a ball.  Coat the dough ball in the sugar-spice mixture and place on the prepared baking sheet.  Repeat with the remaining dough to fill the sheets, spacing the dough balls 2-3 inches apart.  Dip the bottom of a flat, heavy-bottomed drinking glass in water, then in the sugar-spice mixture, and use the bottom to flatten the dough balls slightly.  Recoat the bottom of the glass in the sugar-spice mixture as needed.
Bake the cookies for 10-12 minutes, or until just set and baked through.  Let cool on the baking sheets about 5 minutes, then transfer to a wire rack to cool completely.  Repeat with the remaining dough.  Store in an airtight container.

ENJOY!

Monday, August 22, 2011

Comfort Food 101: Spaghetti Sauce and Meatballs

For any Bostonians out there, you'll remember the icky, non-August like weather we experienced early last week.  It was cold and raining - RAIN two weekends in a row!  I don't know about you, but that kind of weather makes me want to flip it the bird stay in bed all day and eat high carb comfort foods!  I was at work and my mind kept wandering to homemade meatballs and sauce.  I decided I must have spaghetti and meatballs for dinner!  I stopped at the supermarket on my way home to pick up the necessary ingredients I didn't already have on hand.
I was a bit giddy when I got home and assembled all of the ingredients for the meatballs and sauce.  Both the meatballs and sauce came together fairly quickly and I was sitting down to a delicious, comforting meal in about an hour.  The recipe makes about 20 meatballs, so this is a great make ahead and freeze option.  I've already pulled out a few meatballs to slice and use for a pizza.  I've also had just the sauce with some pasta and leftover veggies.  Meatballs and spaghetti sauce are so versatile - I'm almost looking forward to a semi cool night soon so I can heat up a big bowl of pasta with sauce and meatballs!

Meatballs and Sauce
Yields: ~20 meatballs and a whole lot of sauce
Servings: One About 8-10

Meatballs
1 1/4 pounds of lean ground beef (I used 97% lean since the pork would add some additional fat and moisture)
1/2 - 3/4 pounds of ground pork
Two eggs, slightly beaten
1/3 - 1/2 cup of breadcrumbs (I used a mix of unseasoned panko and whole wheat)
1/4 cup grated Parmesan (I used the kind in a shaker can because I think it distributes better throughout the mixture than freshly grated)
1 T dried parsley
Salt & pepper
1/2 medium vidalia (or yellow) onion
1 T garlic (I used the pre-chopped garlic in oil because I forgot to buy fresh garlic.  You can also use 1 clove of fresh or 1 tsp. garlic powder)
Olive oil

Place the ground beef and pork in a bowl large enough to combine when all ingredients have been added.  Add in the eggs, breadcrumbs, Parmesan, parsley, salt and pepper.  Start out by adding only 1/3 cup of breadcrumbs.  You may need to add more if the mixture is too sticky or wet after all the ingredients have been added.
Finely chop or grate the onion and add to the bowl.  I find by grating the onion, you add better flavor and moisture that you wouldn't get from just finely chopping the onion.  If using fresh garlic, grate the clove into the bowl.  This way, you don't bite down into a large chunk of garlic and the flavor blends nicely into the mixture.
Preheat a skillet large enough to brown your meatballs as well as big enough to fit the sauce and meatballs.  Add a small amount of oil and keep the pan on medium heat.
Gently combine all the ingredients.  Don't over mix or the meatballs will end up being tough.  If the mixture is too wet, add more breadcrumbs.  If you added too many breadcrumbs, you can add in any of the following, 1 tablespoon at a time to moisten the mixture: unflavored seltzer, egg whites or broth.
Form the meatballs and place directly into the preheated skillet.  I used a spring-loaded cookie scoop to form evenly sized meatballs.  Brown the meatballs on all sides - This should take about 12 minutes.  Keep in mind that you will finish cooking the meatballs in the sauce, so you want to just brown them to add color and flavor.  Take the meatballs out of the pan and place on a dish.
NOTE: You can skip this step and just drop the meatballs directly into the sauce to cook.  They won't be browned but you will save a few calories and some fat by omitting this step.

Spaghetti Sauce
Olive oil
1/2 medium onion, diced
1 T garlic (about two cloves)
1 small can tomato paste (I used about 3/4 a tube because that is what I had in the pantry - More may be needed depending on how thick/thin you like your sauce)
1 magnum 1/2 cup red wine (I used Ravenswood Zin)
About 1 tablespoon each of: dried parsley, dried oregano and dried basil (If using fresh, add a bit more of each)
Salt & pepper
1 large can crushed tomatoes (I used San Marzano)
1 can (15 oz) tomato sauce (preferably no salt added)
Water
1 T sugar (if needed)

In the same skillet you used to brown the meatballs, add a small amount of olive oil and preheat.  Once heated, add in the onions and saute on medium heat until translucent.  Add in garlic (good idea to grate here too!) and cook for about 30 seconds to bring out the flavor.  Make sure the heat isn't too high - There's not much worse than burned garlic to make a sauce bitter!  Add in the tomato paste and combine with the onions and garlic.  Add in the whole bottle wine and the spices and cook for about two minutes.  Add in the crushed tomatoes and tomato sauce.  Fill the smaller can with water and add about 3/4 of the can to the pan to start.  You may need to add more later if the sauce is too thick.  Cover and let simmer for about five minutes.  Taste and add salt, pepper and sugar if needed.  Additional water and or tomato paste may need to be added at this time.  I prefer a thicker sauce, so I didn't add any water, but I did add some more tomato paste.  Cover and continue to simmer for another five minutes.  Once the sauce has the right seasoning, add in your browned meatballs.  Keeping the heat on medium-low, cover and cook for about 20 - 25 minutes.  Every 10 minutes or so, turn the meatballs to make sure they're cooking evenly.


Serve the sauce and meatballs with your favorite pasta or enjoy with a nice piece of fresh Italian bread!  I served mine with nice, hearty bucatini - No whole wheat pasta this time!  Throw a straw in the bottle Pour yourself a glass of wine and enjoy!